
How to use an air compressor?

The compressor has arrived, the box is open — and the first question is: how do I avoid breaking anything? Good news: using a compressor is not complicated. Bad news: most problems come not from a “bad unit”, but from three everyday habits — the wrong place, the wrong pressure for the tool, and forgotten condensate.
This is a practical guide for the first use and every job after. Always check your unit’s manual too — models differ. If you are still choosing, start with how to choose a compressor.
1. Where to put an air compressor
The location affects both safety and the life of the unit. A compressor gets hot, draws in air for cooling and vibrates.
- Level, stable surface — the unit must not “walk” or tilt; this matters especially for oil-lubricated models.
- Ventilated space — free air around the motor and fan; do not cover it with fabric, cardboard or shelving.
- Clearance around the body — leave room for cooling and for access to the drain valve and gauge (see the manual for exact distances).
- Dry place — no rain, constant dampness or water splashes.
- Not in an explosive atmosphere — away from solvent vapour, petrol, paint aerosols and airborne dust.
2. Pre-start check
One minute before starting saves hours of repair. Go through this list:
| What to check | Why |
|---|---|
| Oil level (oil-lubricated models only) | Without oil the pump wears out fast. Oil-free models take no oil — see oil vs oil-free compressor. |
| Drain valve at the bottom of the tank | It must be closed, otherwise the tank will not fill. |
| Hose and quick couplings | No cracks, pushed on firmly; do not use a damaged hose. |
| Power cable and socket | Cable intact; any extension lead of adequate cross-section and fully unwound. |
| Pressure regulator | Set a low value before connecting the tool. |
3. First start: filling the tank
- Make sure the drain valve is closed and no tool is connected.
- Plug in and switch the compressor on.
- Wait until the tank reaches maximum pressure — the motor stops or switches to idle by itself.
- Listen: unusual knocking, whistling or a sharp air leak means switch off and find the cause.
Important: the maximum pressure on the tank is “how high it may be filled”, not “what pressure to work at”.
4. Regulator: set the tool’s pressure
This is the most important step. Many problems — too hard an impact, worn seals, wasted air — happen because the tool receives what the tank can give, not what the tool allows.
- Find the working pressure on the tool label or in its manual (bar).
- Use the regulator to set the outlet pressure to that value — not to the tank maximum.
- Adjust with the tool connected and air flowing, because the gauge at rest can show a different number.
- Never exceed the tool’s rated maximum.
How much air the tool uses and whether the compressor can sustain it is a separate question: bar, l/min and tank. Matching tools: compressor for air tools.
5. Connecting the tool and working
Connect the tool with the quick coupling, check for leaks and start with a short test. If pressure drops quickly and the motor runs almost continuously, the tool may use more than the compressor can deliver continuously. Pause and let the tank recover.
Protection: when using air tools always wear hearing protection and safety glasses; the air jet and flying particles are a real risk. What to choose: how to choose protective equipment.
If noise is the obstacle (flat workshop, garage by a house wall), look at a silent compressor — it is a separate class, not an ordinary compressor with a cover.
6. After work: switching off and condensate
Compressing air produces water — condensate collects in the tank. If it is not drained, the tank rusts from the inside and moisture reaches your tools.
- Switch the compressor off and unplug it.
- Disconnect the tool.
- Open the drain valve and release the condensate (and air as the manual instructs) until only air comes out. Stand to the side of the jet.
- Close the valve. Release pressure and store the unit as your model’s manual states.
The habit “after every working day” beats “once a season”.
Hose, couplings and air quality
Even a good compressor gives a poor result if the air path is neglected. Choose a hose rated for your pressure and tool, do not kink it, and do not let it lie under wheels or sharp edges. Check quick couplings for leaks — hissing means lost air and more frequent motor starts.
If dry air matters for the job (painting, delicate tools), draining condensate alone is not enough — you also need filtration. Plan it before buying, not after the first problems. And remember: a long hose and many couplings slightly reduce pressure at the tool end, so always set the regulator with the tool connected.
7. Maintenance rhythm
| How often | What to do |
|---|---|
| After each use | Drain condensate, inspect hose and couplings. |
| Regularly | Oil-lubricated models — oil level; all models — condition of the air intake filter. |
| Per the manual schedule | Oil change, filter cleaning or replacement, safety valve check. |
How to tell the compressor is too weak for the tool
On first use it often seems that “something is wrong”, although the unit is fine. Signs that the problem is insufficient flow rather than a defect:
- after a few seconds the tool loses power, but works again after a pause;
- the gauge at the regulator drops below the set pressure while working;
- the motor starts too often or runs almost continuously;
- the tank is empty after work, although the tool only needed a short burst.
In that case shorter work cycles with pauses or a different class of unit helps. Compare the numbers on the tool and compressor cards — “more bar” does not solve it.
Quick checklist before every job
- Stable, ventilated place, clearance around the body.
- Oil level (oil-lubricated models), drain valve closed.
- Hose and couplings undamaged.
- Regulator set to the tool’s working pressure.
- Hearing and eye protection on.
- After work: switch off, unplug, drain condensate.
Common mistakes
- Never draining condensate — rust in the tank and water in the tool.
- Regulator at maximum — working at tank pressure instead of tool pressure.
- Undersized compressor for the tool — the motor runs non-stop and pressure drops; the problem is flow, not a “bad” unit.
- Working without hearing and eye protection.
- Blocked ventilation, or a damp or explosive environment.
Examples from the range
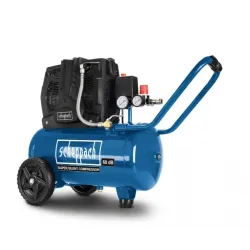
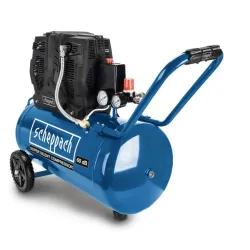
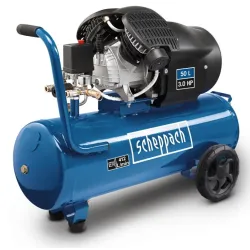
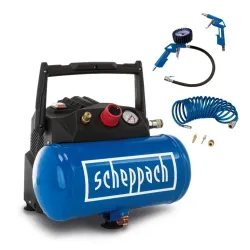
Scheppach offers several HC-class units for different jobs. For example, HC25Si and HC51Si are models for the quieter class, HC53DC is a unit for higher demands, and HC06 is a compact choice for lighter jobs. Check the exact bar, l/min and tank volume on each product card — we do not repeat them here to avoid confusion.
FAQ
What bar should I set the regulator to?
The working pressure stated on the tool label or in its manual — no more. The tank maximum is only the filling limit.
How often should I drain condensate?
Ideally after every working day. If you work rarely, drain it before storage.
Can I leave the compressor with a full tank?
Follow your unit’s manual. The safest habit is to switch off, unplug and drain condensate.
Why does the compressor not stop?
Common reasons: an open drain valve, a leak, or a tool using more air than the compressor delivers. Check the hose and couplings, then compare the data on the cards.
What next
If you are still looking for a unit, see Compressors and the guide how to choose a compressor. If you have already bought one, start with the place, the regulator and condensate — and most problems will never appear.
Reviews
Be the first to review this article.
Write a review