
How to replace a mixer: steps before and after buying

Replacing a mixer is one of the most common DIY jobs in the bathroom and kitchen. This page is for deck-mounted models. Built-in ones need a different approach (body in the wall) — see built-in or deck-mounted. Choice: how to choose a mixer tap.
Before you buy — a 30-minute check
- Shut off cold and hot; open the old mixer to relieve pressure.
- Photograph supplies and threads (often 1/2″ or 3/8″ + M10 on the mixer side).
- Measure whether the new model fits the same hole in the basin / the same spacing on the wall.
- Note whether you need new supplies and gaskets — often yes.
What you usually need in the kit
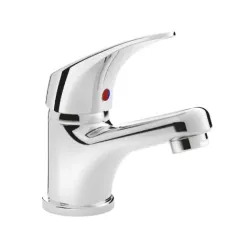
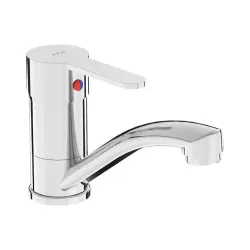
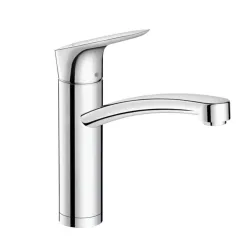
- New mixer — e.g. Jika Talas, Jika Lyra Smart, Hansgrohe Logis 160.
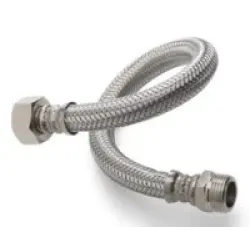
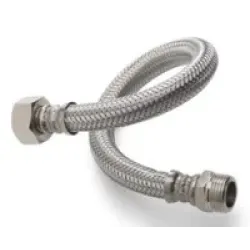
- Supplies: Tucai F1/2–M10 35 cm or Tucai F3/8–M10 35 cm — by your threads.
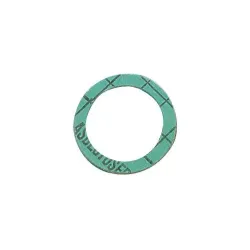
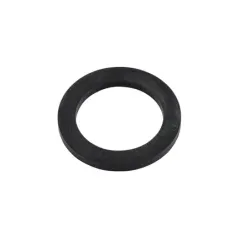
- Gaskets: paranite 1/2″, rubber 1/2″.
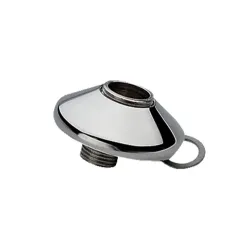
- For wall bath/shower — eccentrics: Remer 1/2×3/4.
Work sequence
- Shut off water and relieve pressure.
- Disconnect supplies; hold a bowl — water will run out.
- Undo the fixing under the basin / on the wall; remove the old mixer.
- Clean the surface; check the basin sealing zone is not damaged.
- Fit the new one per the manufacturer diagram; tighten without “force until it breaks”.
- Connect supplies with new gaskets; cold/hot — on the correct sides.
- Open water slowly; check seals with dry paper.
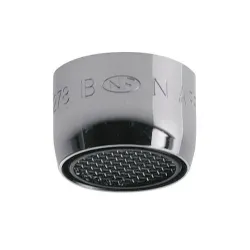
- Check the aerator — Remer F22 — if flow looks odd.
When to call a tradesperson
- Corroded supplies “won’t budge” and risk breaking the pipe in the wall.
- Built-in body / concealed mounting.
- No clear cold/hot marking and mixed old schemes.
After installation
If temperature “jumps” or you want to limit hot: adjust temperature. Parameters: spout and cartridge. Range: Mixer taps, small parts: Gaskets and installation.
Reviews
Be the first to review this article.
Write a review